I've been putting off my first post for all too long because I was waiting for just the right home improvement project to kick it off with- and this is it!
My wife and I are really into classic and antique furniture, but not really into the outrageous price tags. I caught her secretly looking at the pottery barn and restoration hardware websites and longing for a new dining room set. When I saw the furniture she was looking at I said "I can make that..." and the gauntlet was thrown down. Those furniture companies call it "Shabby-Chic" but I call it a classic, aged finish. I'll show you how I made this beautiful dining room table and take you through it step by step.
Here is what you will need:
- 1 Old table of hardwood construction (no plywood or veneer)
- 1 Can of oil based primer (I recommend KILZ)
- *Note- If you are priming over bare pine, use a shellac based primer
- 1 Can of white/off-white paint, semi-gloss (this can be any color, depending on the look you want)
- 1 Pint Van Dyke Brown Finisher's Glaze
- 1 Can Minwax Paste Wax
- 1 pint distilled white vinegar (or apple cider vinegar)
- 2 Black Tea Bags (any tea will work, Earl, Lipton, English Breakfast)
- 1 Fine 0000 steel wool pad (must be actual steel wool)
- 1 2" Sponge Brush
- 1 2" High Quality Bristle Brush
- 1 Bottle Wood Glue
- #20 Biscuits
- 4 foot clamps
- Sandpaper - Various Grit 80/120/220
The dining room table and chairs we have now are from my 1st college apartment. I bought them at a garage sale for $50- not bad for 10 years of beer pong and card nights followed by our first couple of Christmas and Thanksgiving dinners. Check craigslist.org or local garage sales to find the best deals on cheap furniture needing a pick-me-up.

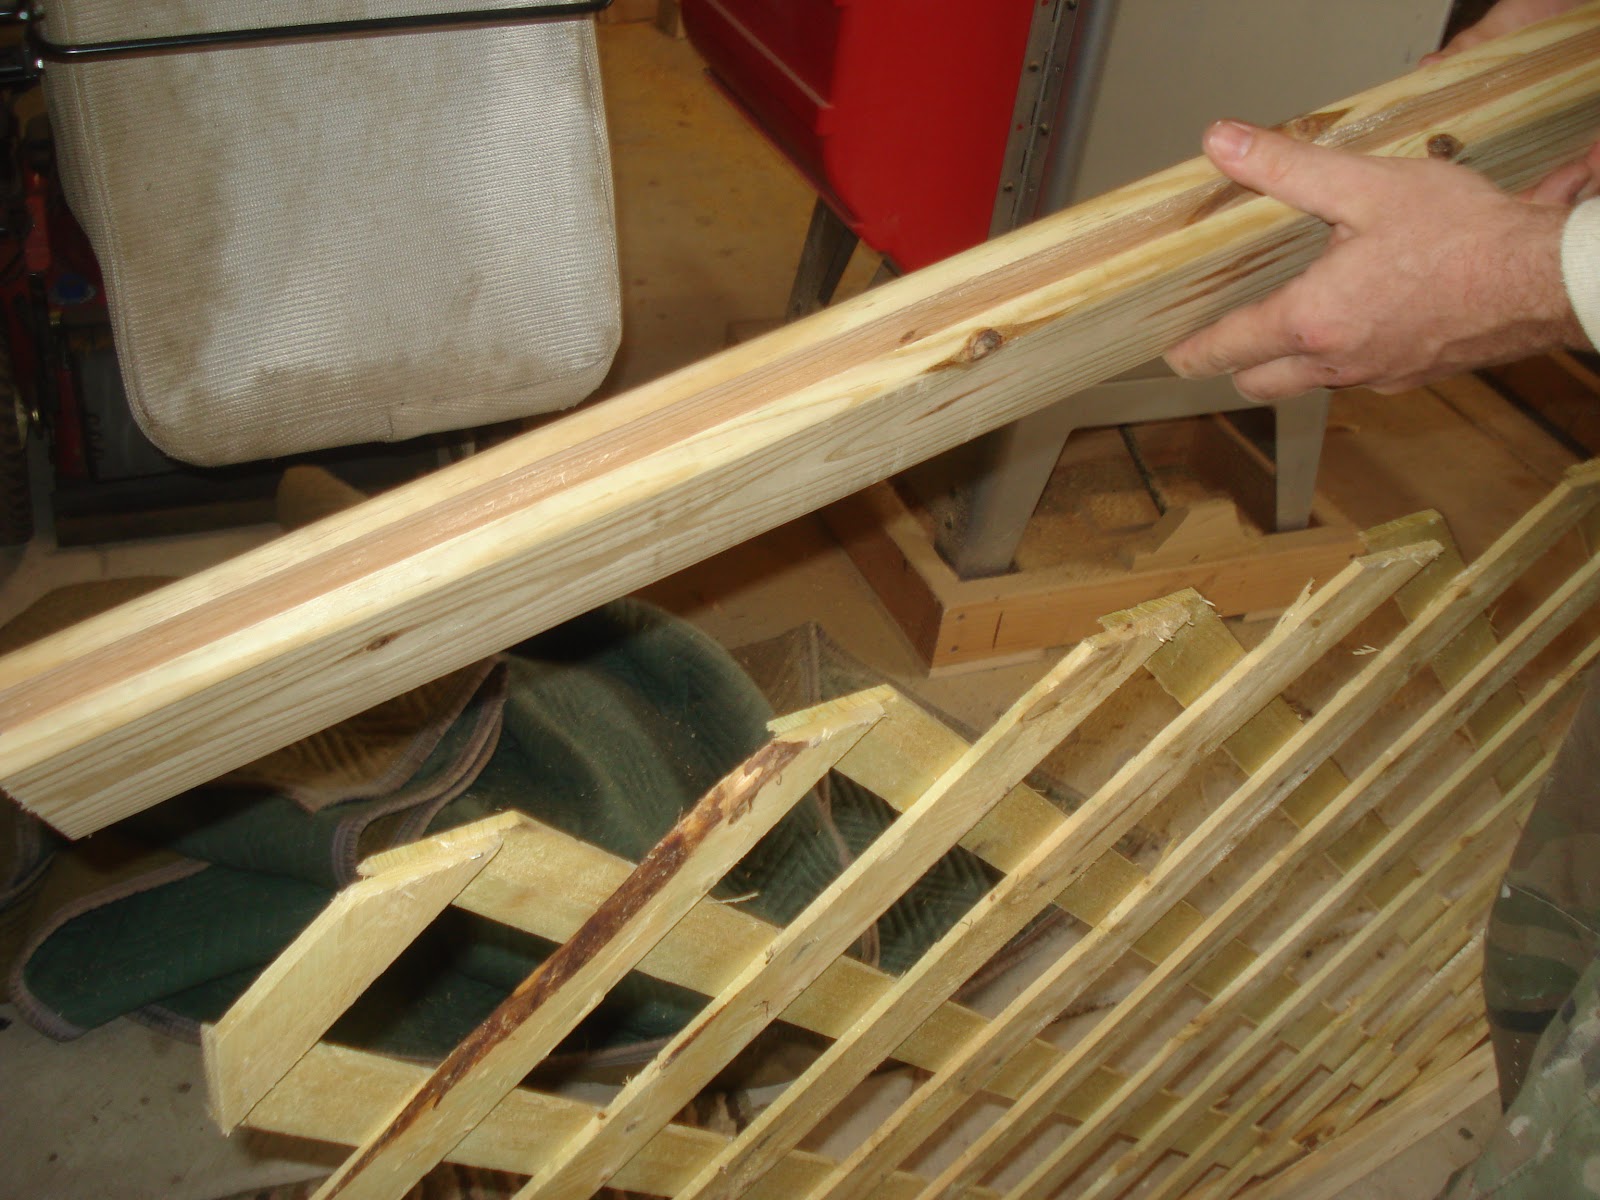
We liked the table legs and base, but the veneer table top had to be replaced. Since Tiffany likes the look of aged knotty pine, making a new table top was very easy. I even broke my #1 rule: For choice lumber you have to go to a lumber yard. Usually I will NEVER go to Home Depot or Lowe's for lumber stock because it is a waste of over-priced time. Well lucky for me I wanted some abused (the term here is 'distressed') low-grade pine for our table top... so Home Depot fit the bill. I was able to track down some 5/4 white pine that was 8" wide and 8' long. (Actual width was 7 and 1/4") (Note - "5/4" refers to the thickness of the wood stock. Rough lumber thickness is referred to in quarters of an inch. so 5/4 means "5 quarters of an inch" or simply, 1 and 1/4 inch thick. 8/4 would be a 2-inch thickness etc.) I selected 5 boards with well jointed edges- to determine if the edges are "well jointed" sight down the length of the board with one eye and look to see how true it is. Look for any dings, scratches or knots along the edge. These are OK for looks, but can make gluing them together a challenge.

Once you have all the materials you need, get started by making your vinegar stain. Unroll a piece of the 0000 steel wool and put it into a glass jar. You can throw in a few rusty nails if you have them about. Then add the vinegar - (white vinegar gives you a redder finish and apple cider vinegar gives you a grayish finish. I used white vinegar) Cap it tightly and let sit for at least 24 hours- preferably 3-5 days.
Next, disassemble and paint the old table. Ours had a lacquer finish so an oil based primer was sufficient. I used 120grit sand paper to rough up the surface and wiped it clean so the primer adhered better. After the primer dried 24 hours I painted them with the off-white semi-gloss paint. It took two coats to get a good cover consistency. Remember to gently sand with the 220 sandpaper in between coats for adhesion and to smooth out any brush strokes.
Once the legs and base are painted and the paint is dry, use a foam brush or clean rag to wipe on some Van Dyke Brown finisher's glaze. The glaze will get caught up in the nooks and crevices and slightly tint the paint. It will be an uneven look- which is what you want! After getting the glaze on the legs, gently wipe it off with a clean rag leaving some residual glaze behind. You can repeat this step as needed until you get the feel for it. In the picture below you can see th three legs already glazed in the background and how faded they look compared to the leg I'm working on.
For the legs and the table base a hard top-coat is not needed for durability or protection, so I used a paste wax to finish it. Once the glaze is dry- 6-9 hours, wipe on a thin coat of paste wax. Let sit for 15 minutes and buff off with a clean rag. The wax finish will give you a decent protection of the finish- but will not stand up to water, heat or dings.
Now for the tabletop. Start by laying out the boards on your assembly table. Once you have the grain laid out the way you like it label the boards with a pencil. Mark the faces of the boards for biscuits and cut slots for #20 biscuits. 1/ foot should suffice. Test fit the biscuits and then apply a liberal amount of glue to the edge of each board and the slots. Insert the biscuits and clamp the boards together enough to close the gaps and squeeze out the glue. Immediately wipe off the squeeze-out with a damp rag. If you don't, it will ruin the finish you are about to apply. I wanted to fancy up the table a bit so I got some 5/4 white pine that was 4" wide and made a frame for the table with mitered corners. No end-grain = less country. Biscuits, glue and clamps all around once again.

If you are pressed for time, like I was (Thanksgiving was 2 days away!) turn the table top over and anchor the boards together from the bottom with pocket screws. I know, I know- all the purists will hate this, and I feel like less of a wood smith having done it, but it works... That Kreg Jig really comes in handy (great Christmas Gift idea ladies...) Once the glue has dried overnight, turn the work piece right side up. Plane the top smooth using a Stanley #6 hand plane (if you're a craftsman) or you can use a hand-held belt sander if you're more of a novice. Work the top as smooth as you desire, leave the imperfections if you want the distressed look. Progressively sand with 80, 120 and 220 grit sand papers.


Now for the magic. Brew yourself two cups of tea and take it out to the table. Brush it on the table top with the 2" foam brush and let it soak in. The tannins in the tea are working on the wood, don't worry- I thought I was crazy too. Now, strain the vinegar stain into a clean container (coffee can etc.) through 4 layers of cheesecloth or a coffee filter. After the tea has set 15 minutes or so brush on the vinegar. Apply a liberal amount using the foam brush. Wait 30-45 minutes and you will see the wood age before your eyes. Add another coat of stain as desired. Let it set overnight and let the wood completely absorb the vinegar. It will continue to darken as it does.

Once you get the color where you like it you can apply a clear coat with a high quality bristle brush and either polycrilic, polyurethane, or Lacquer (my favorite). Lacquer bleeds into itself with each layer and it continues to cure and harden for years and lets the wood age underneath it. Although, it is more cumbersome to handle and requires lacquer thinner, a respiratory mask and good ventilation etc. More posts to follow on clear coating- for now, apply your choice of clear coat in accordance with the directions on the can.
Let the finish cure in accordance with the instructions (in most cases 24 hours) before you reassemble the table. Enjoy!